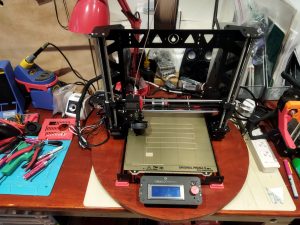
Just received the Anycubic Ace Pro that I ordered from Amazon. This along with the Anybcubic Kobra 3 Max will complete the Combo. They didn’t have the Combo (Kobra 3 Max plus the Ace Pro) available for sale with free shipping at the end of March, so I ordered just the Kobra 3 Max which was on sale and included free shipping. I ordered the Ace Pro a few weeks after the Kobra 3 Max. It wasn’t on sale but it still had free shipping. Now both the Kobra 3 Max and the Ace Pro don’t have free shipping. And the Kobra 3 Max isn’t on sale. If I bought both today, it would have cost me $215 more. That’s a lot of filament there. 😉
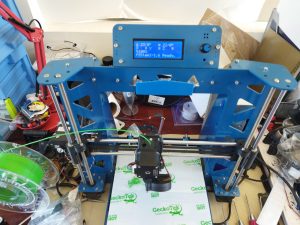
The build volume of the Anycubic Kobra 3 Max is massive. It measures 420mm x 420mm x 500mm! It dwarfs the 250mm x 210mm x 220mm build volume of my Prusa Mk3x. Not really sure the build height of my MK3X is really 220mm.
When I received the Kobra 3 Max, I checked the box for damage. There wasn’t any noticeable damage, but the box was coming apart on a corner. It looks like the he shipper applied extra tape to fix that. Nothing was damaged in the box. The packaging inside was good. I had watched a few videos prior to receiving my printer so I knew what had to be done. I opened the manual and proceeded to follow the directions to assemble the printer. The printer is not a kit like I have dealt with before. The Z axis was removed from the base and packed flat on the base. Not loosely packed but it was bolted together with the base to make one unit.

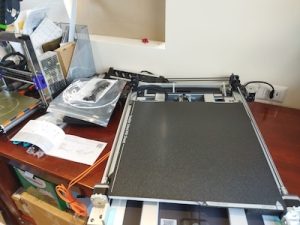
Following the directions I was able to assemble everything. From watching some of those YT videos on the Kobra 3 Max, I was able to fix a few issues that other people had. Mostly it was making sure things were tight. I did contact Anycubic support for a few issues. From looking at the manual it seemed that there was something to be set if you were using 220v instead of 110v. For this printer you just use the appropriate power cable, plug it in, and it automatically senses the current you are using. The other issue I had was that the feet weren’t level on the table. My table was a bit off, so I put the printer on a glass surface. It was still a little bit off. Anycubic support got back to me and send me a nice instructional email on how to fix the issue. They also solved an issue I had with not being able to log on to my account at their Makeonline.com site. All in all, Anycubic support was prompt and helpful. I went thought the various tests, but haven’t attempted to print anything since I was waiting on the arrival of the Ace Pro unit.
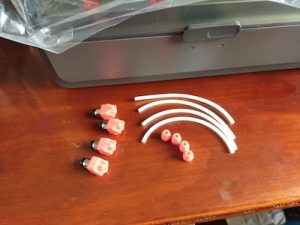
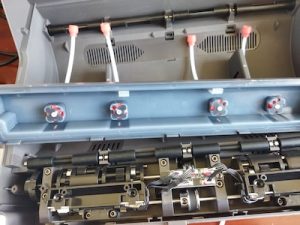
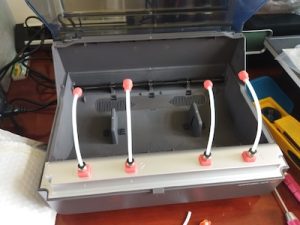
Right now I am printing some parts for a mod of the Ace Pro. The mod adds a PTFE tube to each of the 4 filament inputs in the Ace Pro. This mod will eliminate wear to the input pads due to friction caused by the filament rubbing on the pad. This will also help insure that the filament feeds into the Ace Pro without any kinks or twists that will cause a jam. For each input on the Ace Pro, two parts will need to be printed. A new input pad and a guide at the end of the PTFE tube. Here is a link to the new input pad. This input pad uses PC4-M10 Pneumatic Fittings. It was a remix of the original design which uses PC4-M6 Pneumatic Fittings. I got a set of fittings from Amazon which had both sizes. The remix pages doesn’t have a guide head STL file since he now thinks that the original guide head is better. So I had to get it from the original design page. For the PTFE tubes, the length is 14cm (5.5 inches) long. I printed out the STL files, cut the PTFE tubes, and installed the PC4-M10 fittings into the replacement inputs. The tubes need to stick out of the input pads just a little bit like the original, due to the input area inside of the Ace Pro under the cover piece.
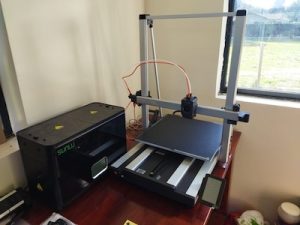
It is all ready to go. Now I have to finish up with the Ace Pro setup and integration with the Kobra 3 Max.